The Early Bird Gets the Sunshine!
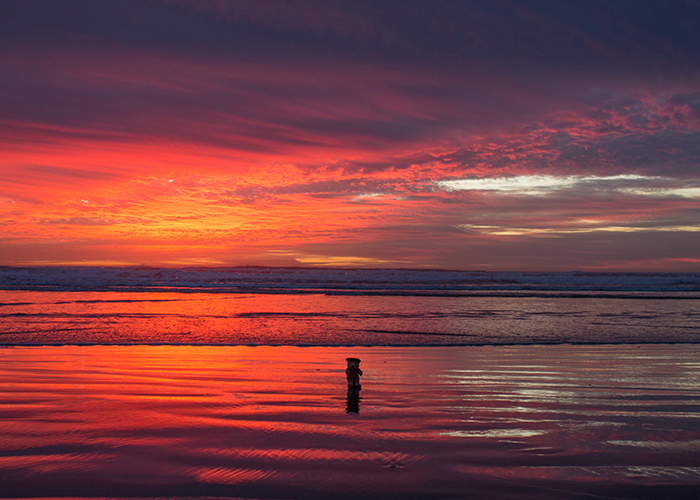
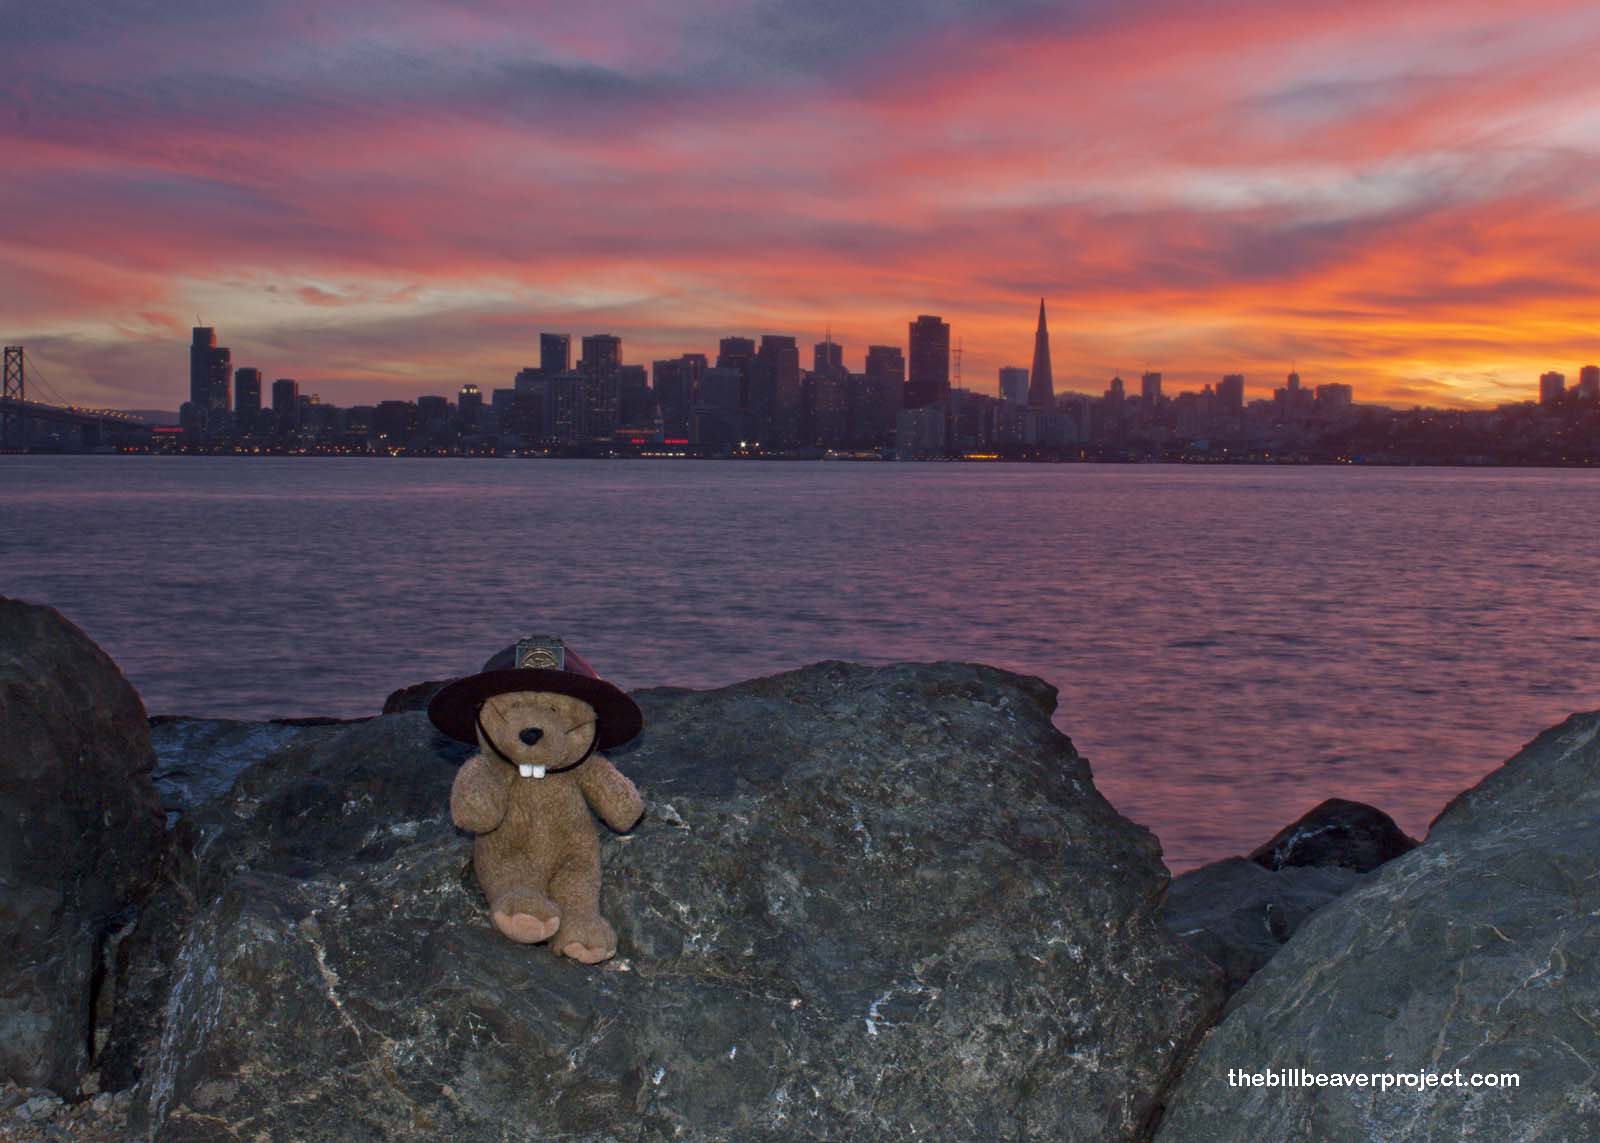
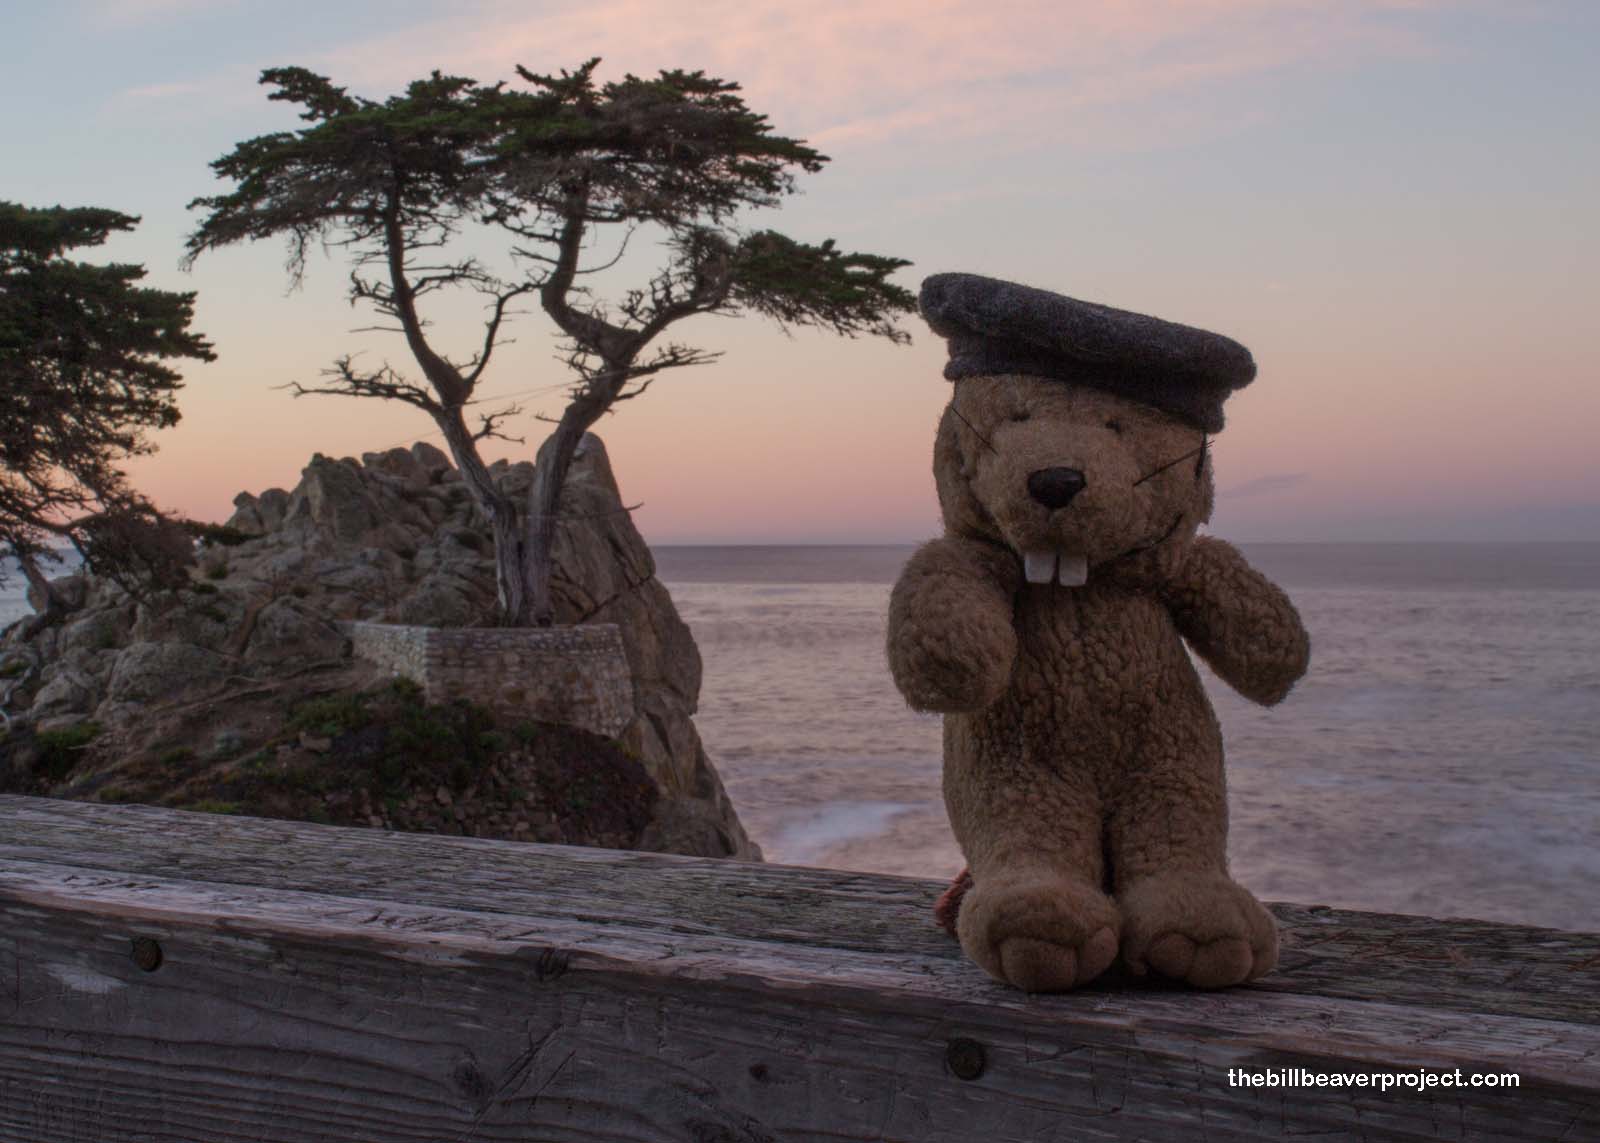
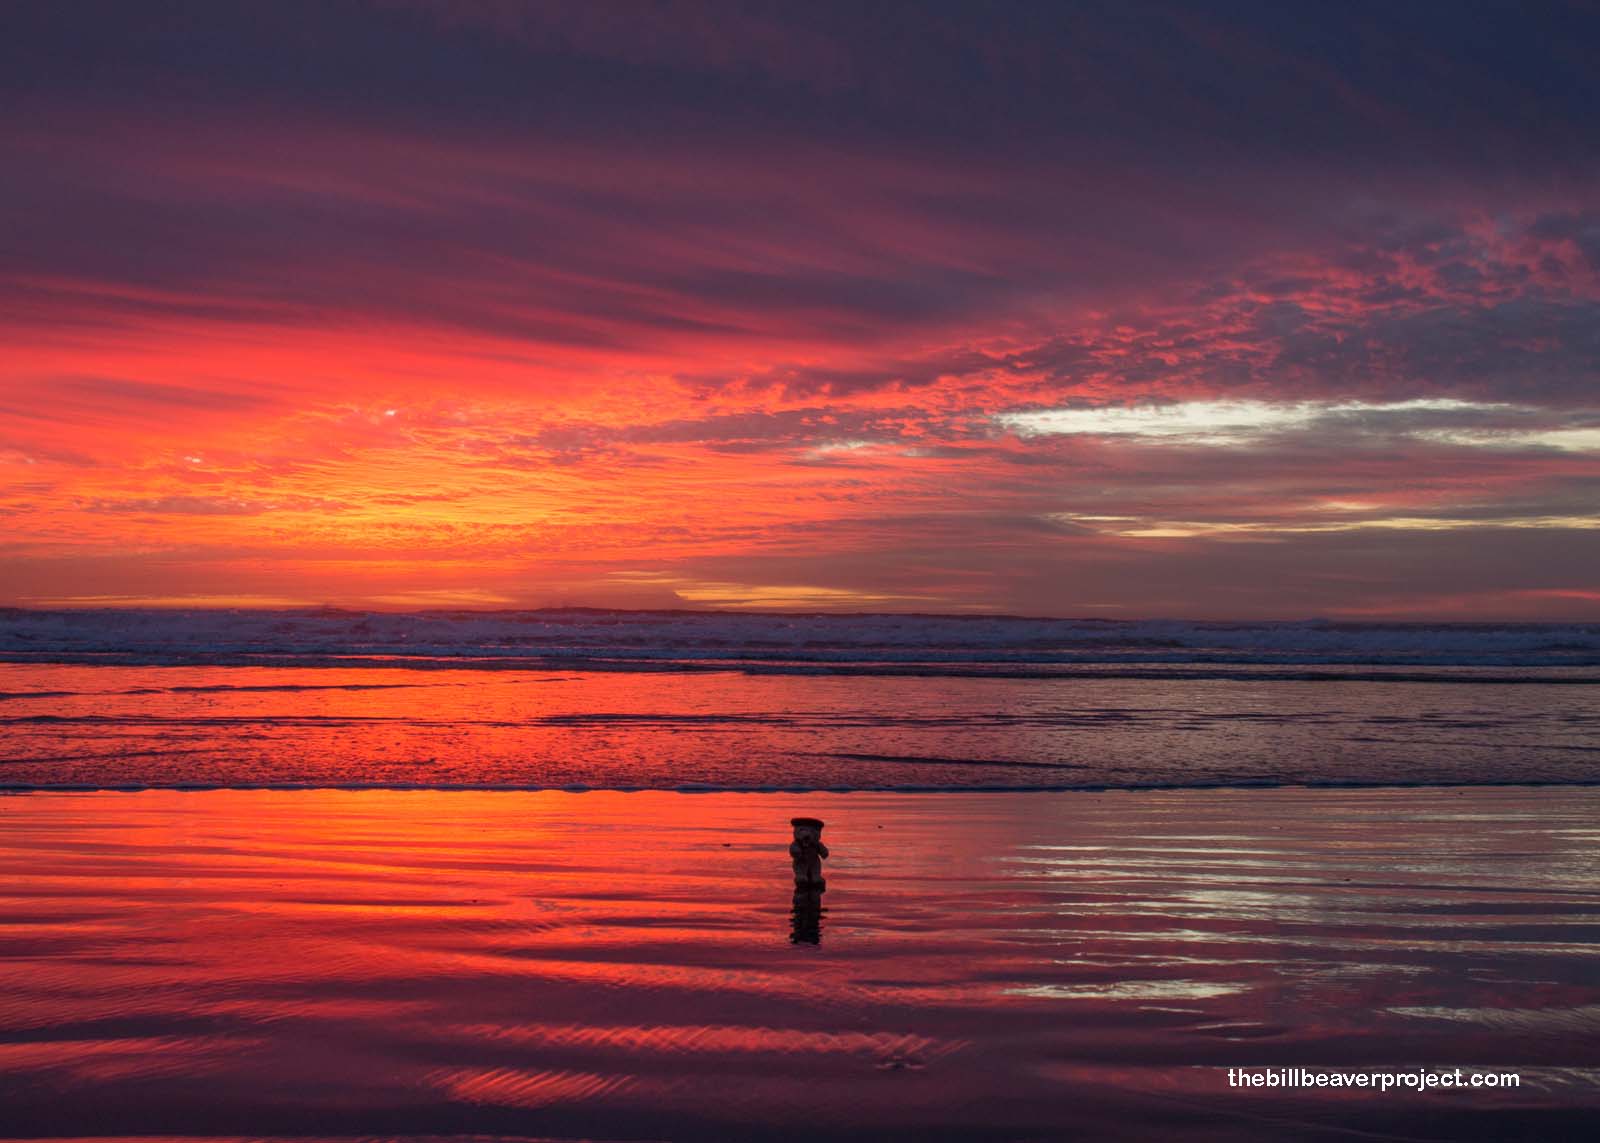
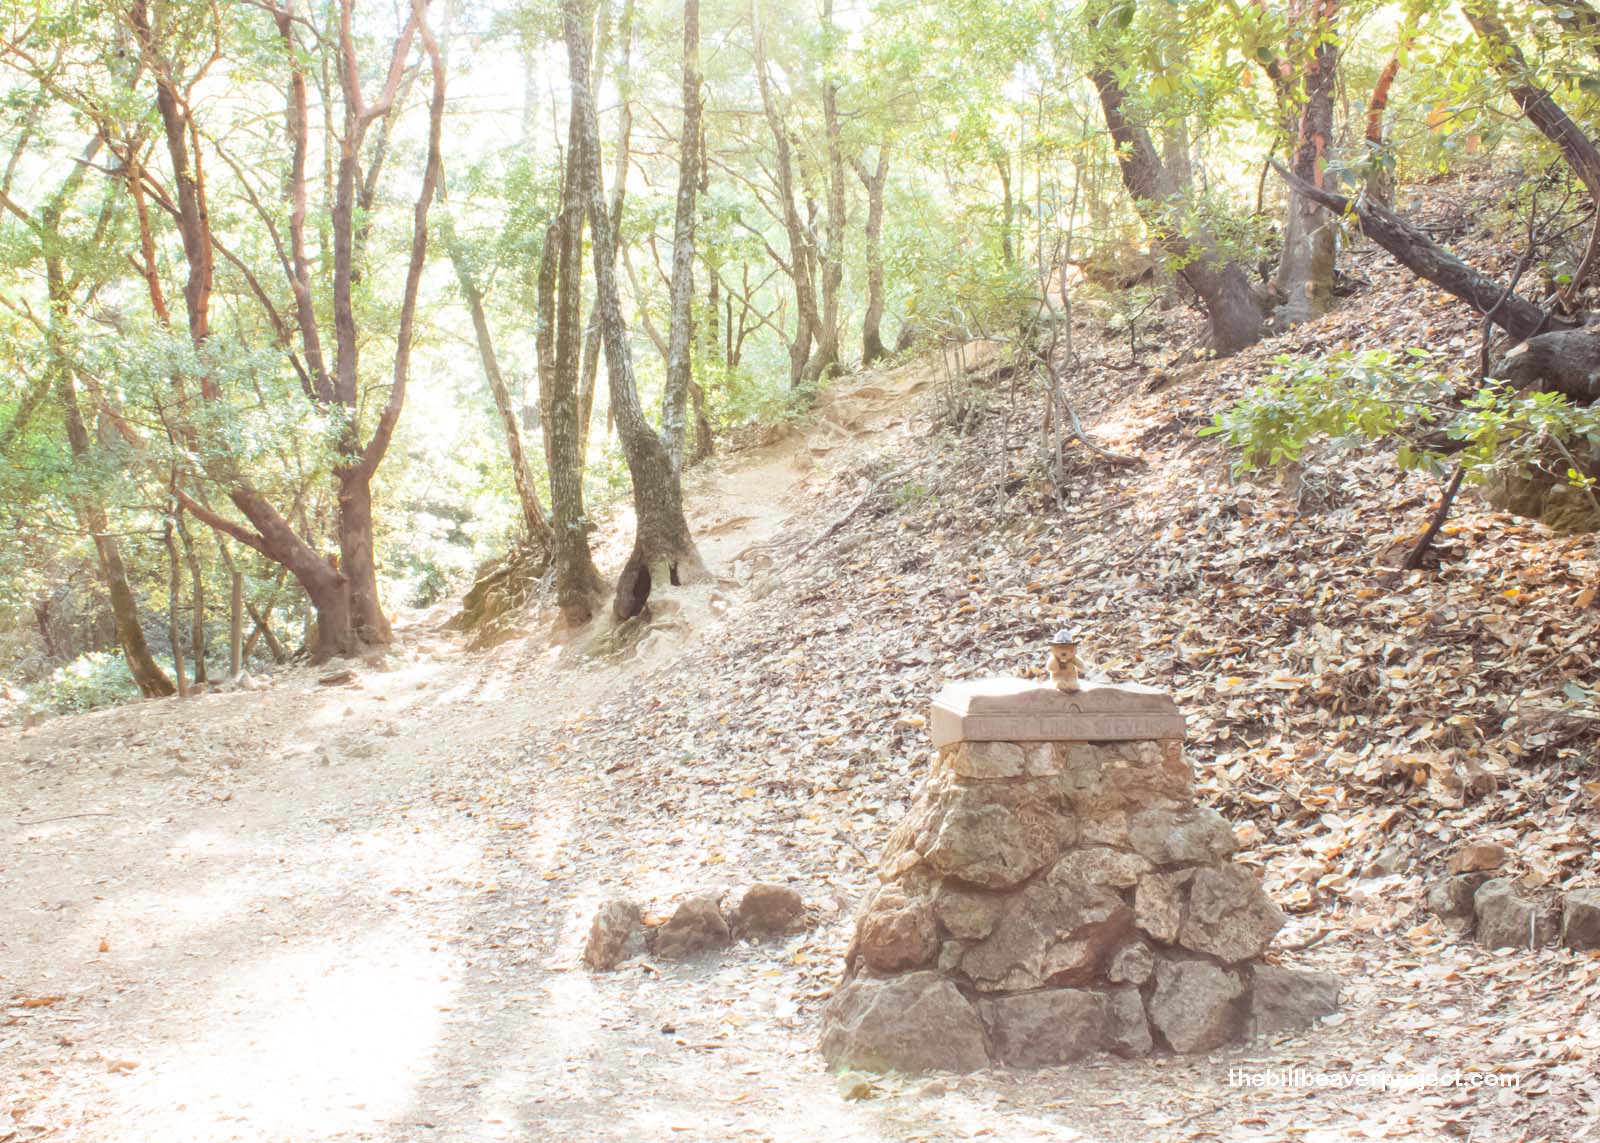
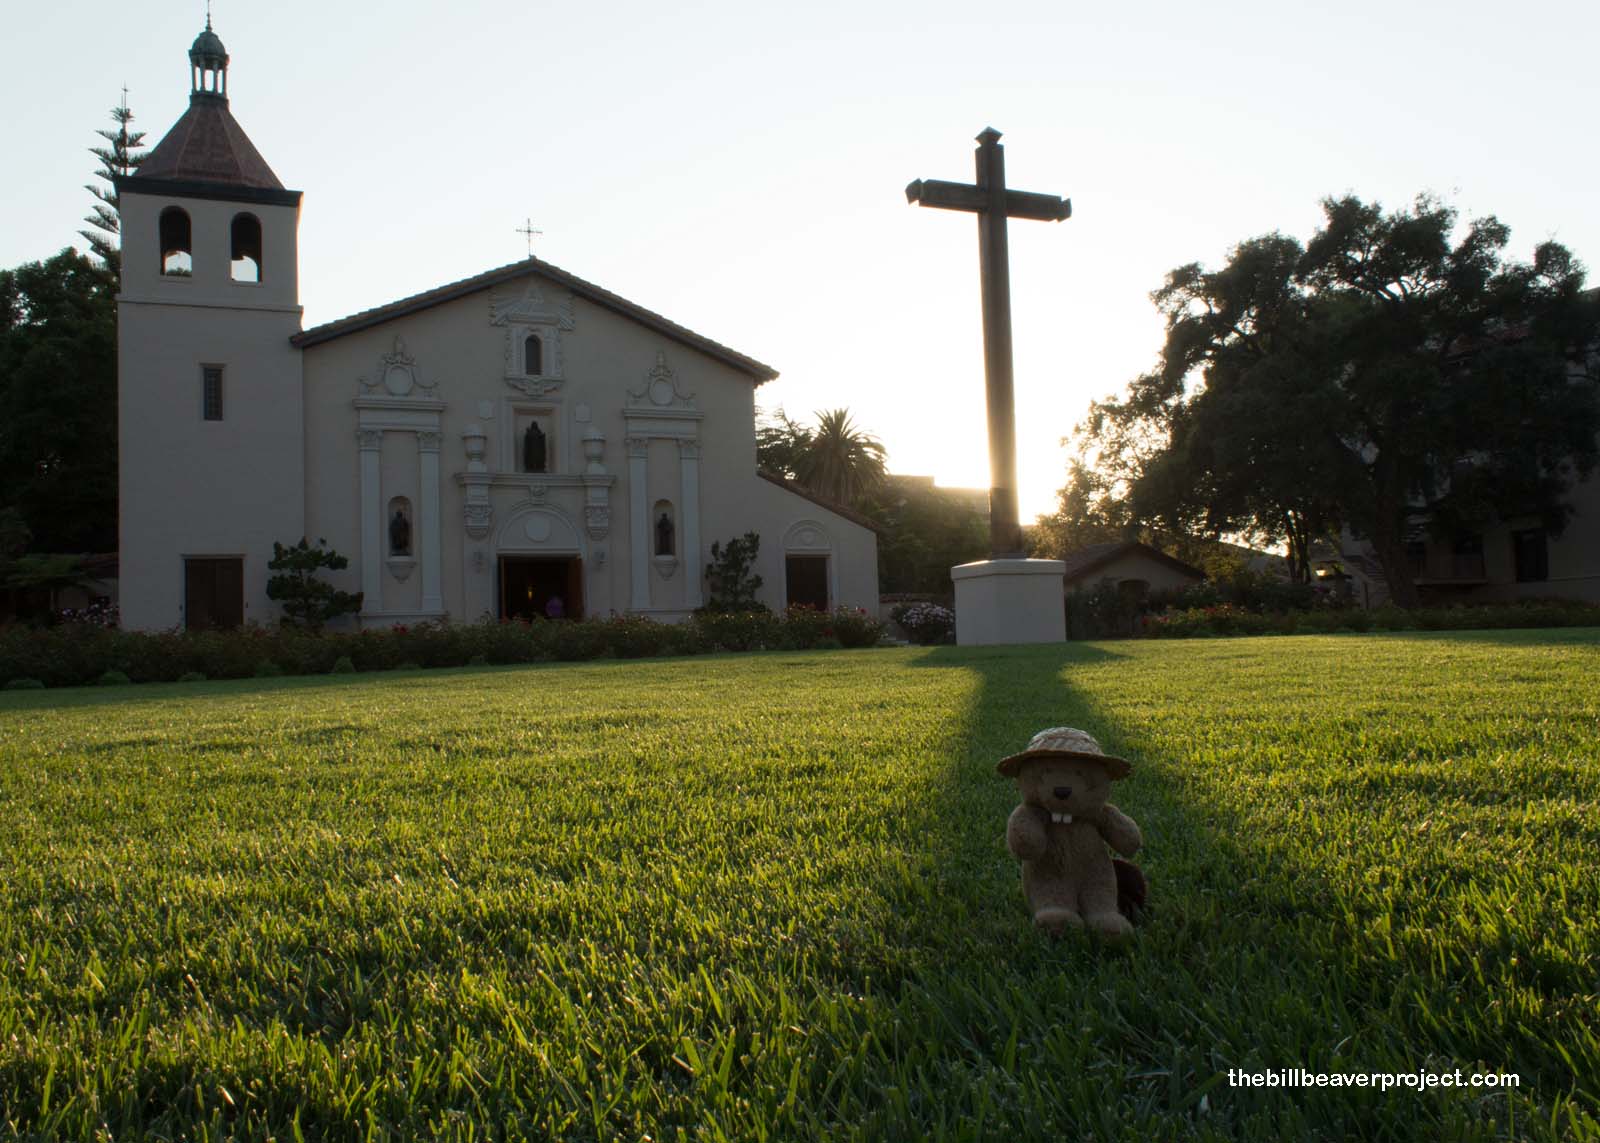
The best lighting is in the morning or the evening when the sun is at a low angle. That kind of lighting illuminates most evenly and produces some of the richest colors. It’s a bit of a drag getting up early, but it’s bound to be less crowded than at sunset. Your memories, and your followers, will thank you for it.
 Shot around 6:00 AM |
 Shot around 5:00 PM |
This is also the best time of day to catch an important element in your photos: eye sparkle! That little glint in your eyes gives you life in your photo! Compare these two photos with and without eye sparkle, and tell me which looks more lively to you!
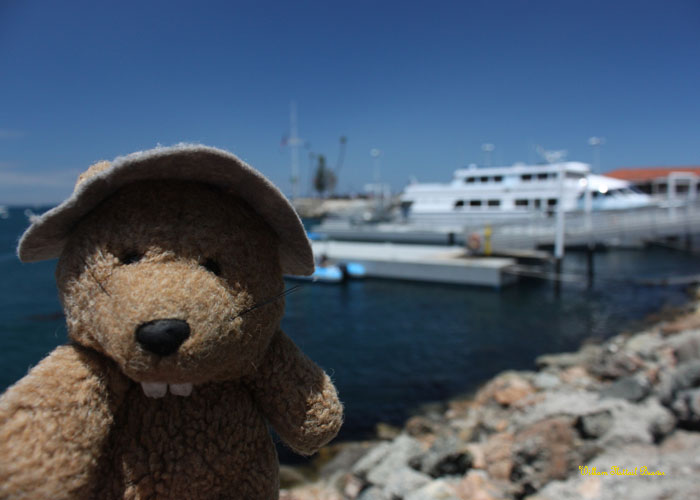 Dead eyes! |
 Living eyes! |
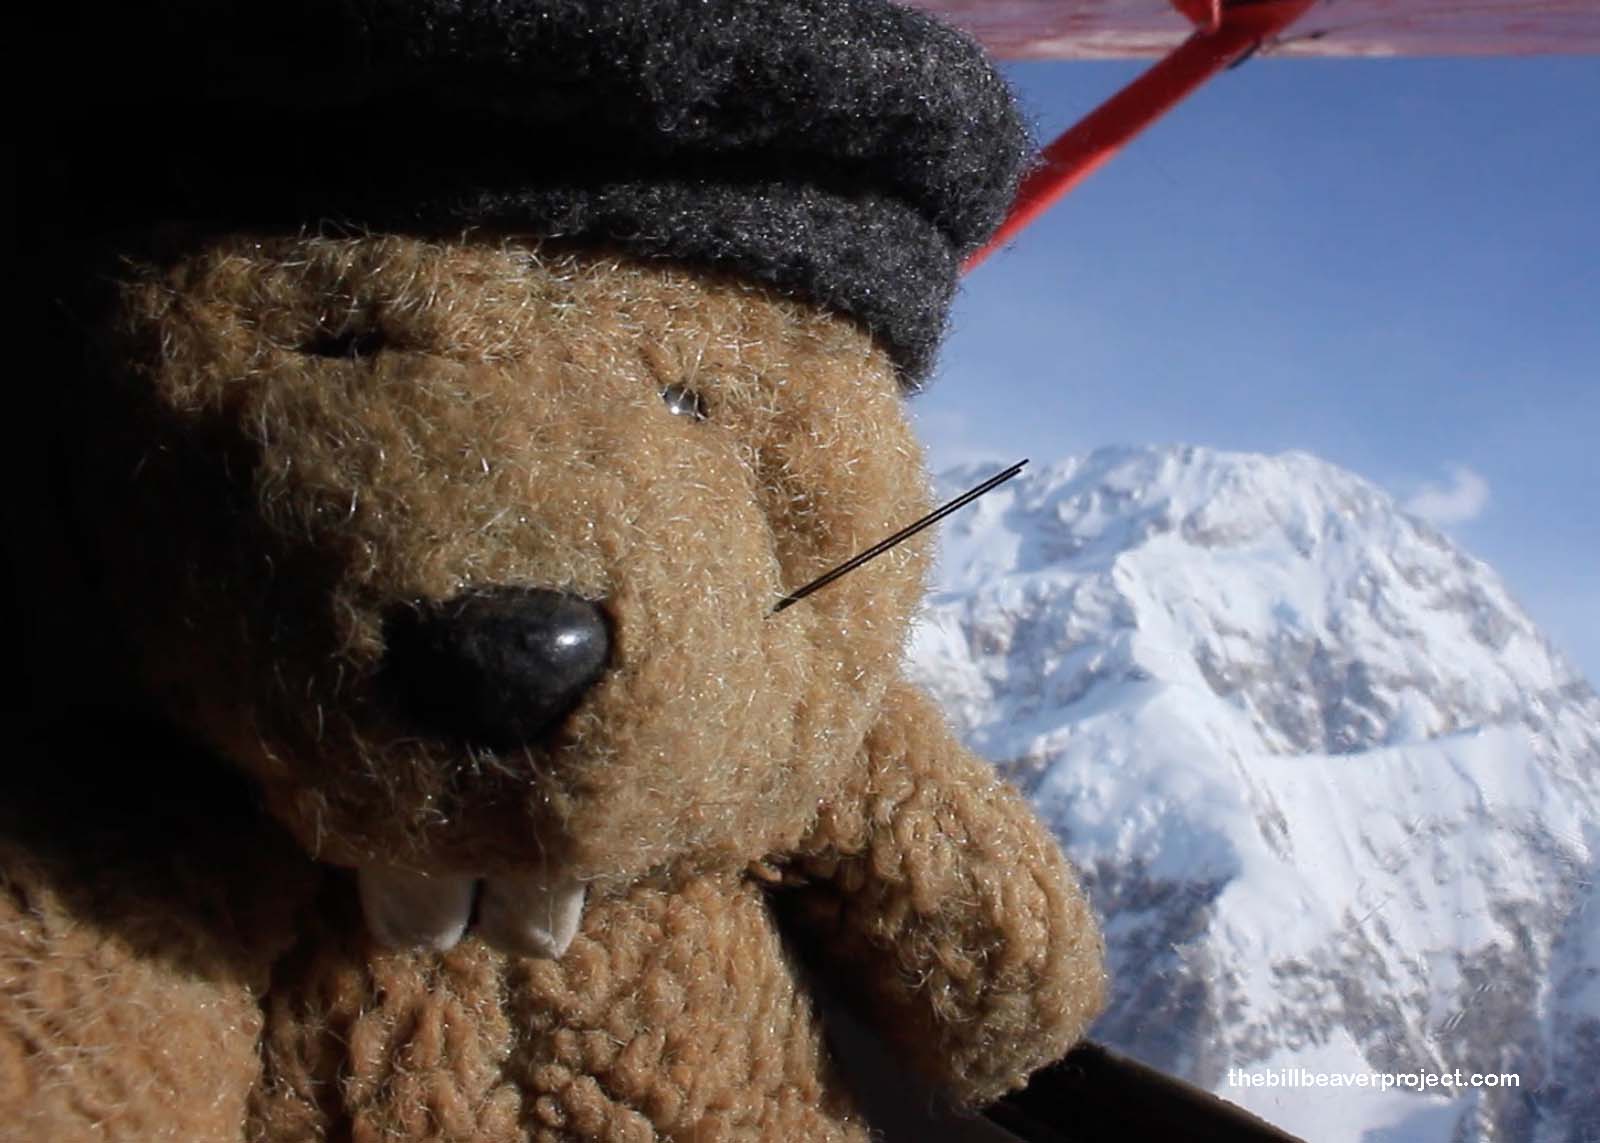
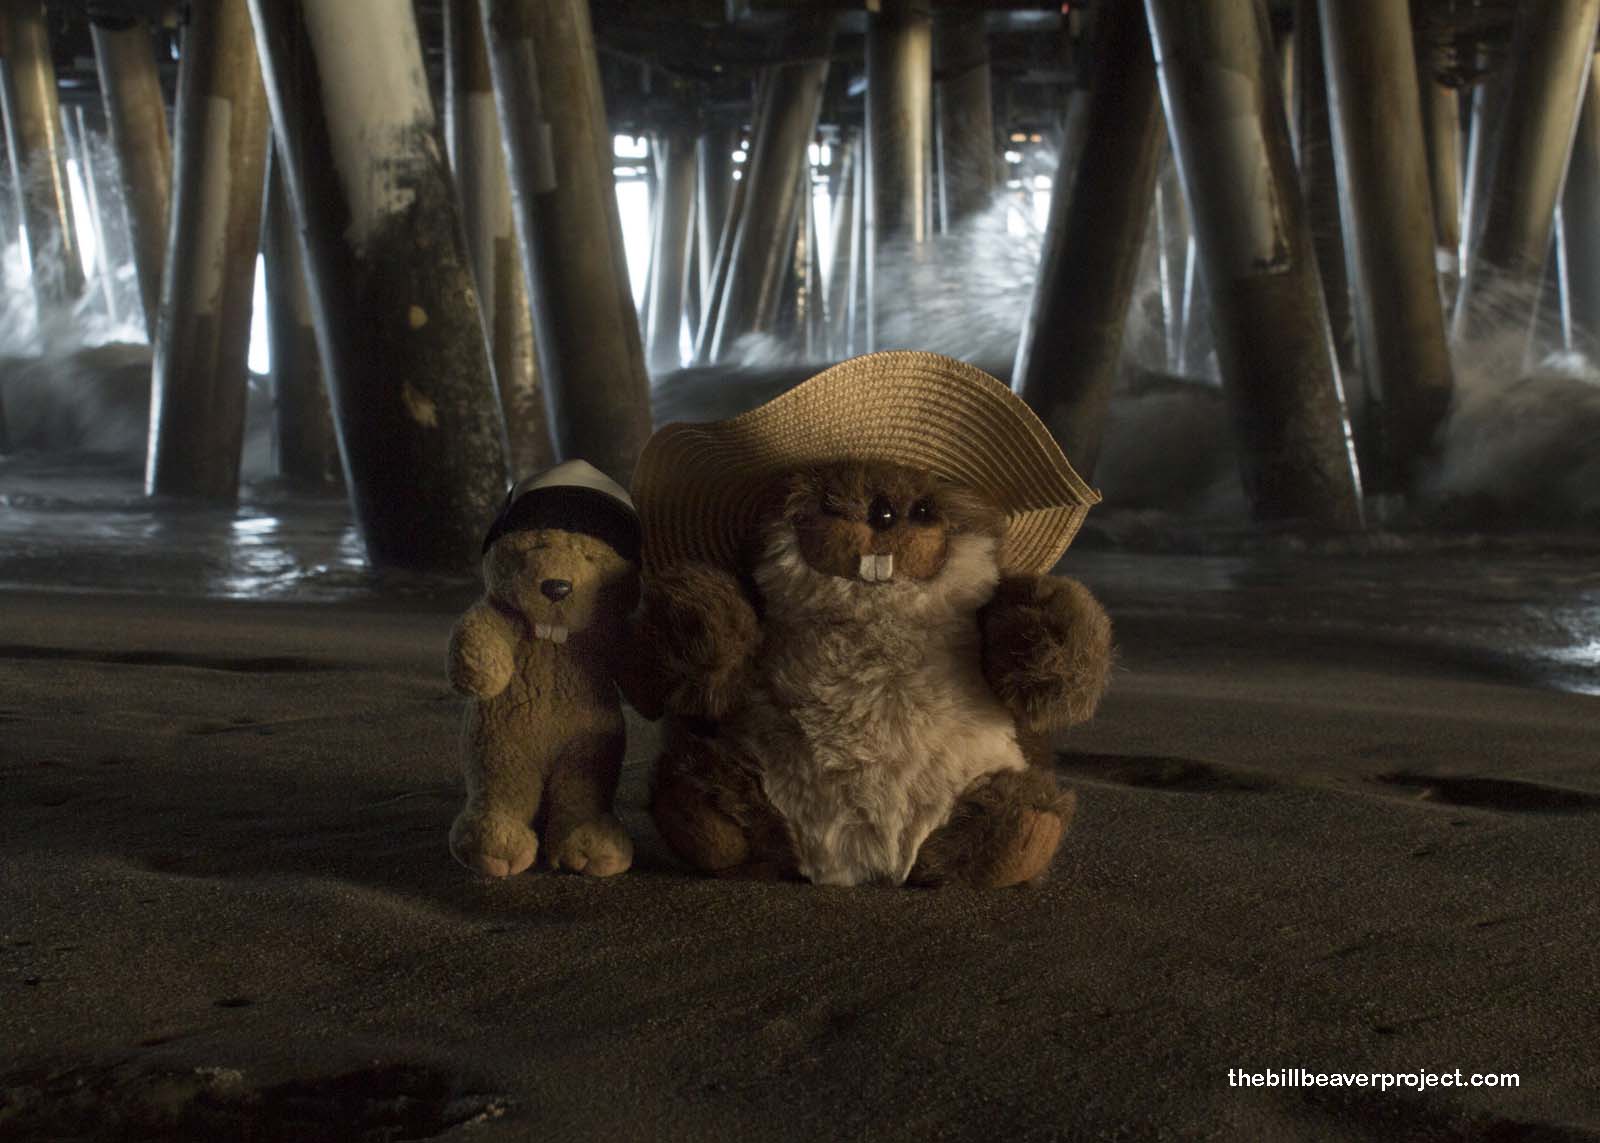
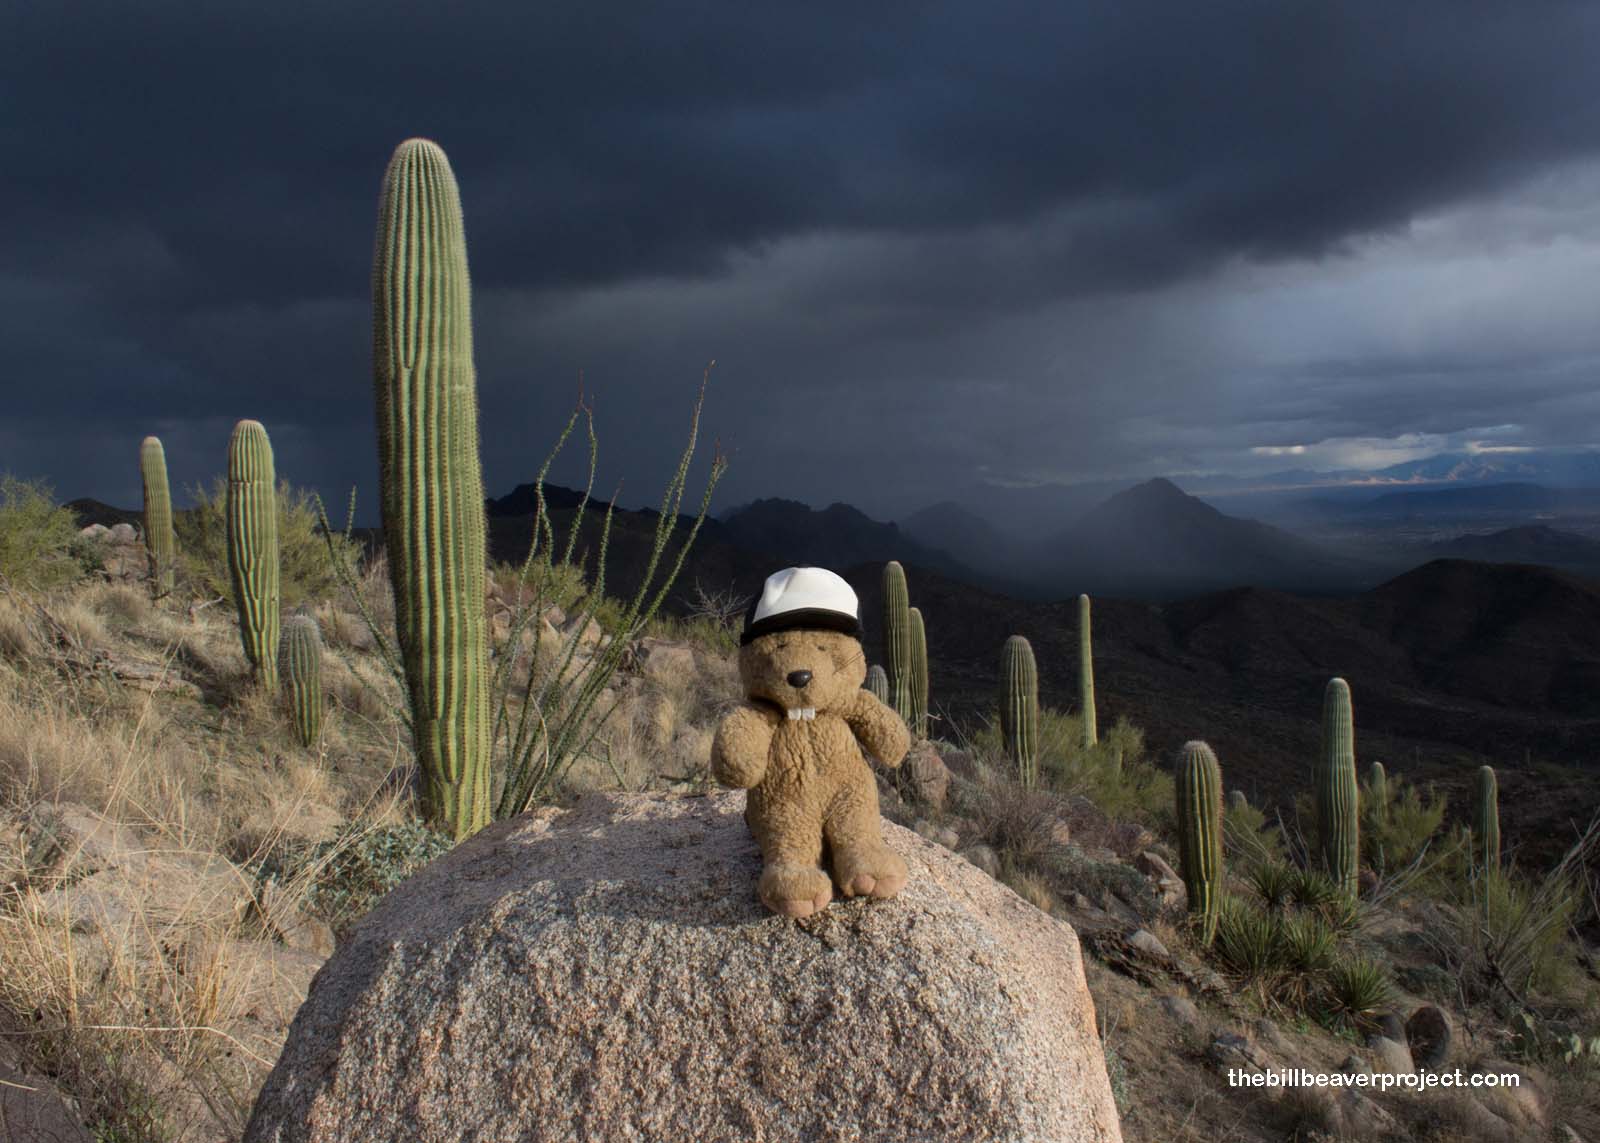
That said, you can’t always have perfect lighting on your adventure, but fear not! Adding something as simple as a hat can blend away those dead eyes and even give you some dramatic shadow effects.
Filtering the Light
Even though cloudy days bring a risk of wind, rain, and other complications, clouds can be your best friend when you’re out taking photos. That’s because they can filter the light evenly across you and your background!
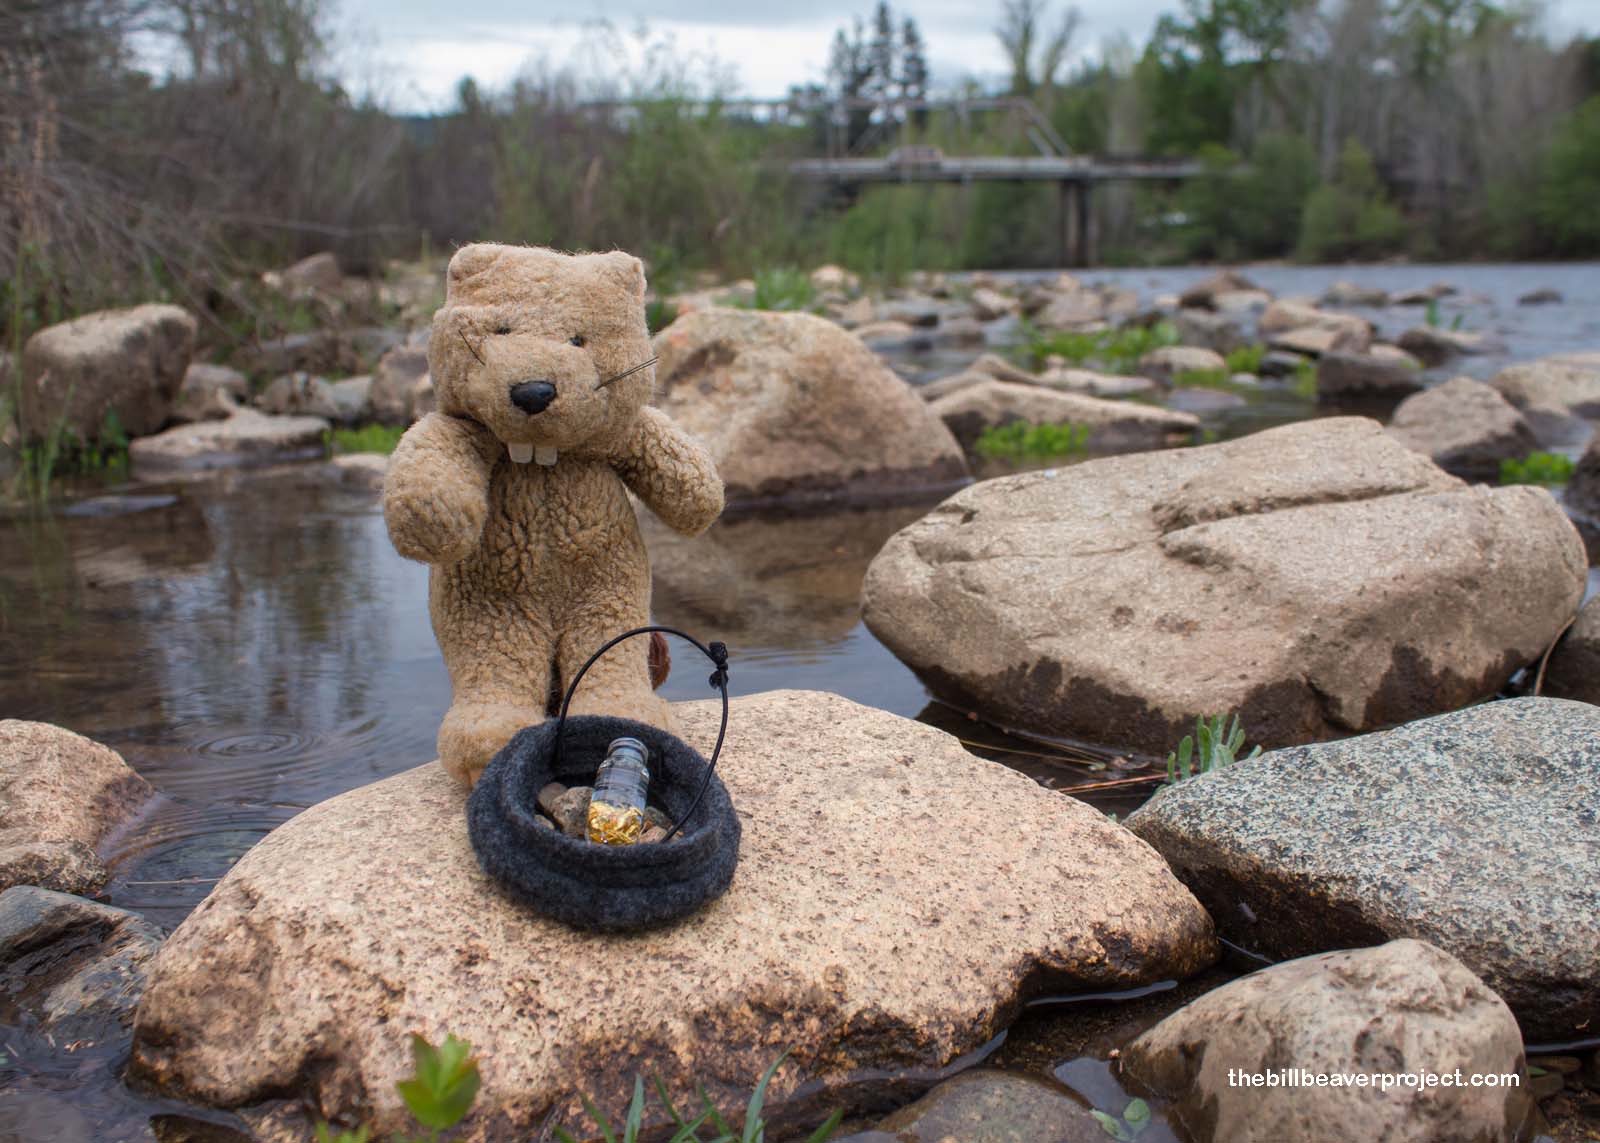
If it’s a sunny day out, but you still want that nice filtered effect, you can make use of overhangs, steam, umbrellas, big hats, and really anything you can find to come between you and the sun!
 |
 |
Or, if you’re more of an indoor photographer, and you didn’t bring a professional lighting kit on your adventure, taking photos close to a window (but not facing it directly) provides wonderful filtered light for your scene!
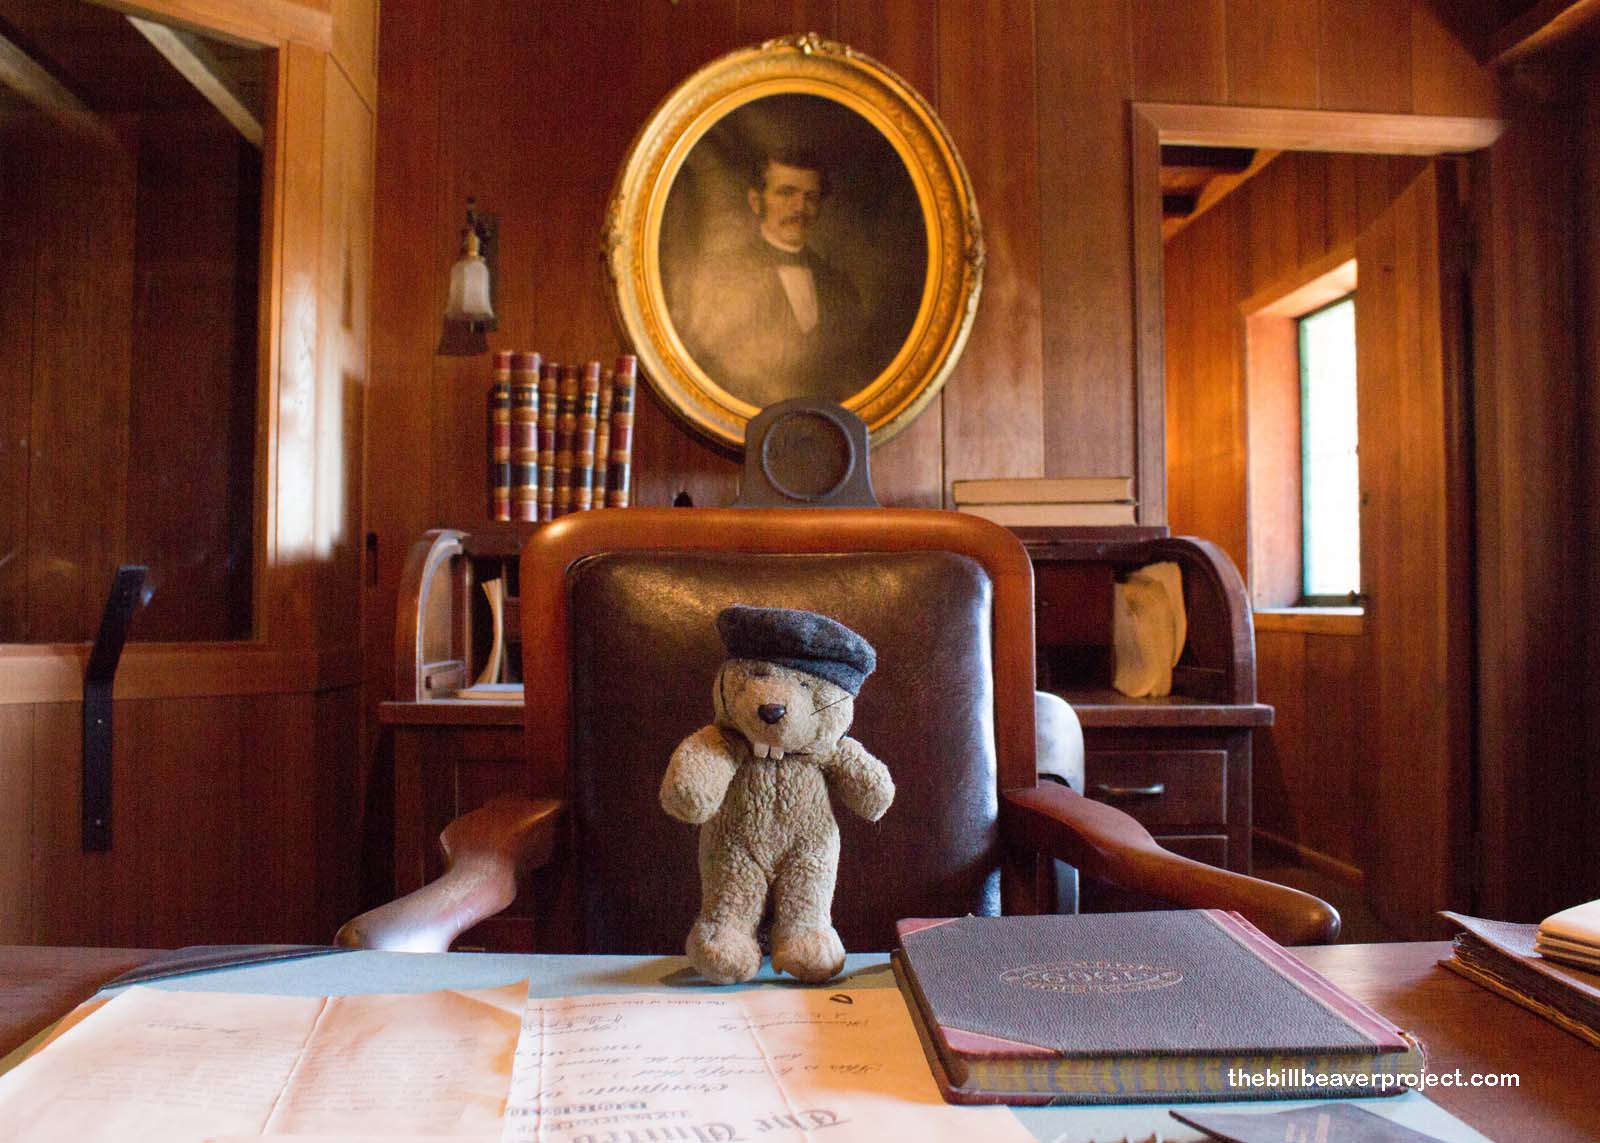
Standing in front of a window can give you a backlighting headache, but luckily, there are some fun things you can do with backlighting too!
Backlighting and Shadow
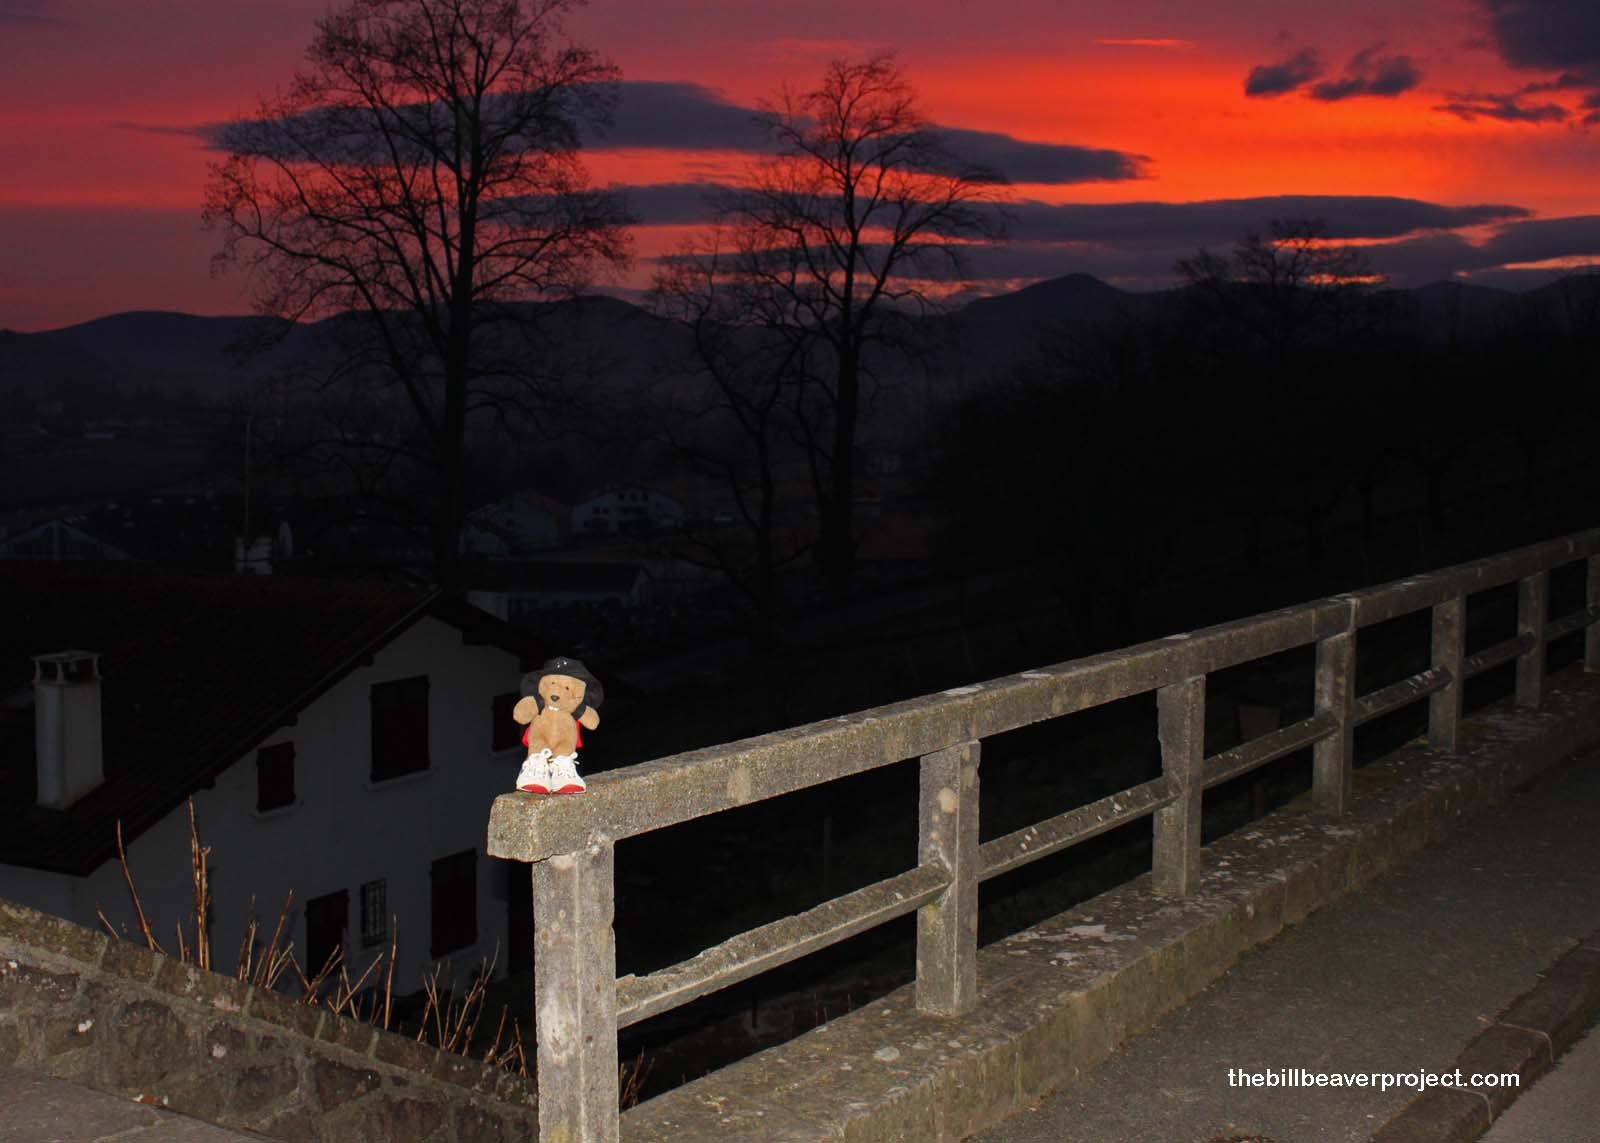
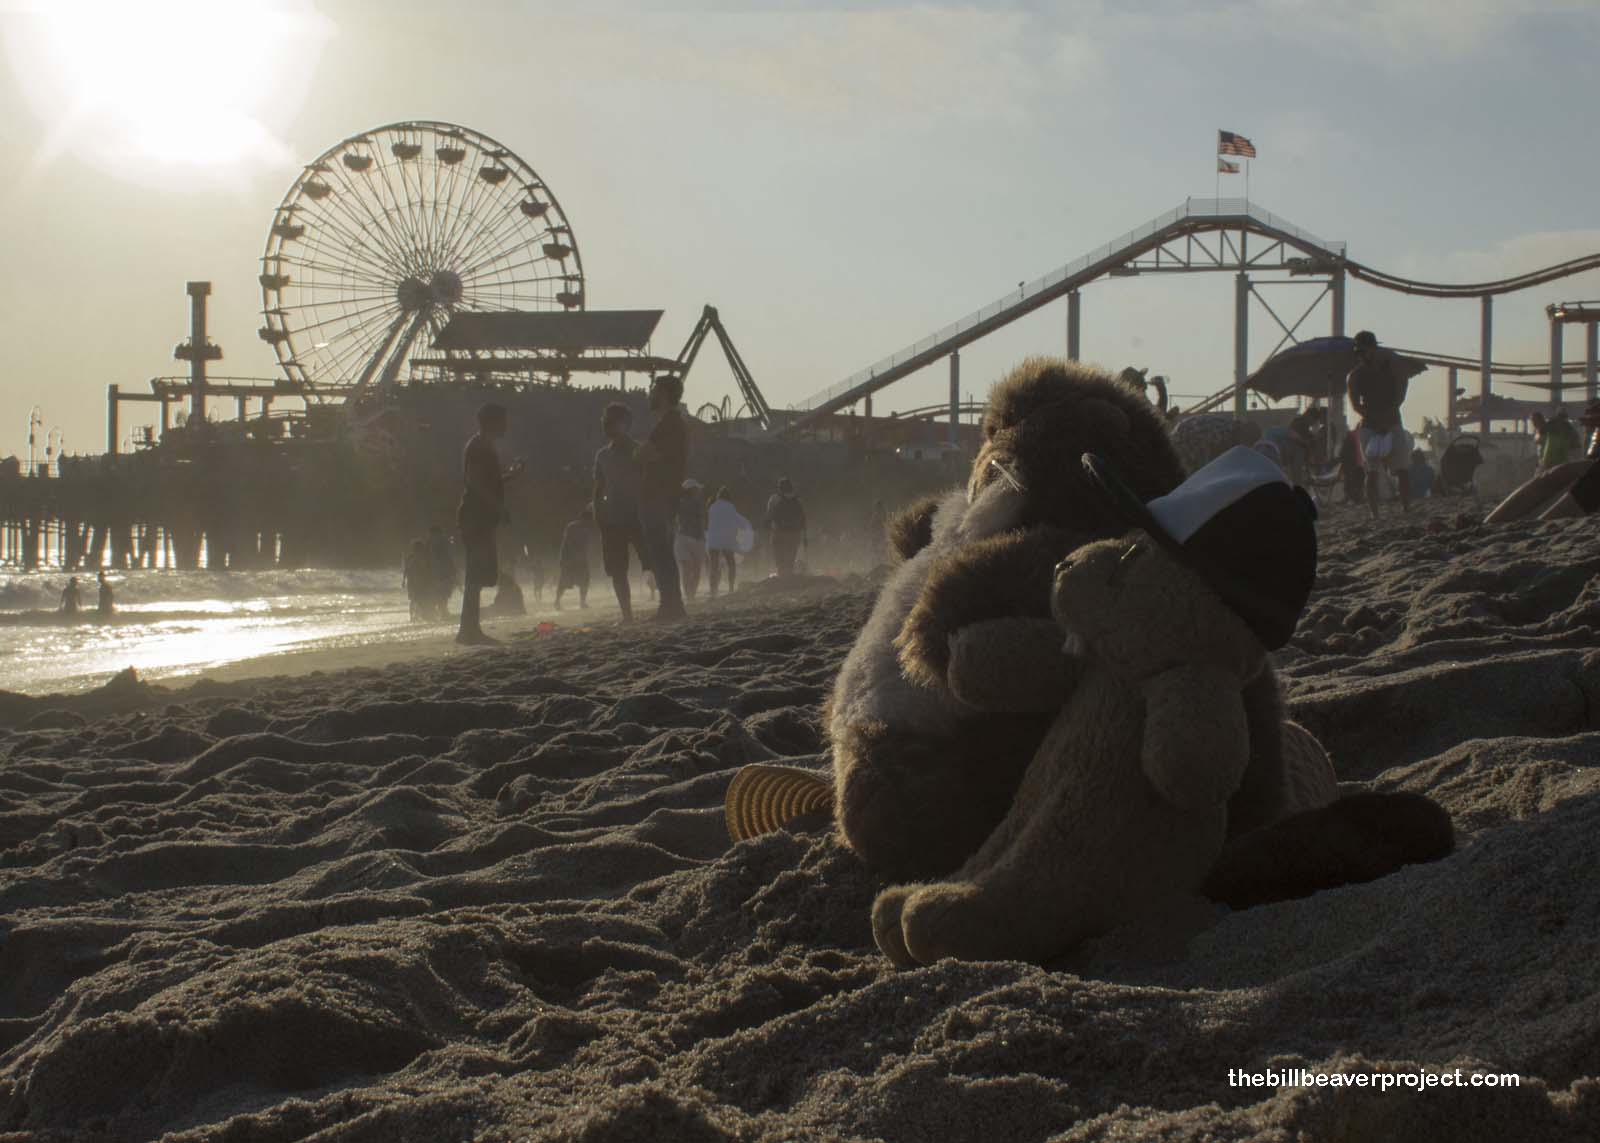
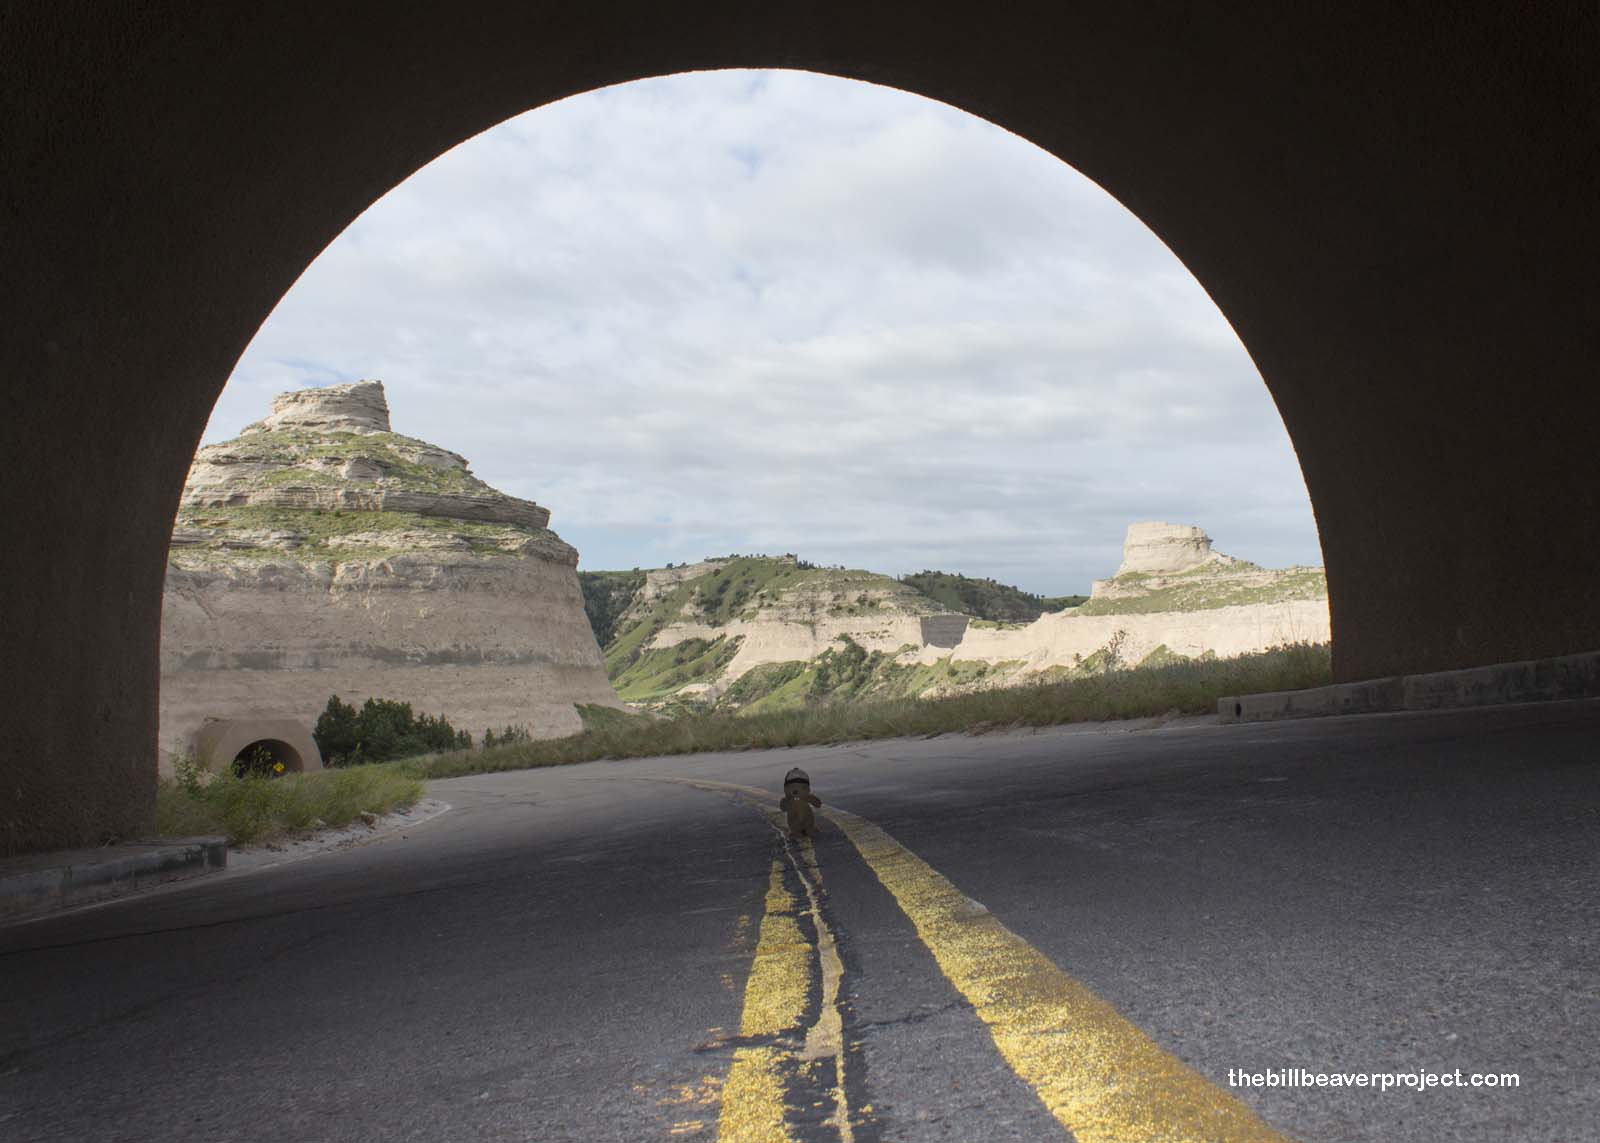
Photography is a yin and yang dance of light and shadow. Sometimes, the sun behind you is creating such a neat effect that you just want to capture it, but doing so is going to turn you into a silhouette. Fear not! There are ways you can make this work for you.
The first is the popular flash. I don’t usually like using the flash, because it dramatically alters the feel of a scene, pushing the foreground too much into contrast with the background. Used from a distance or with a filter, though, and you can at least get some dazzling colors from a sunrise or sunset!
 |
 |
You can also set up a tripod and set a slow shutter speed to blend you into the background better, but you may end up sacrificing some background color for it.
At the same time, there’s nothing wrong with making good use of shadow! Just as light illuminates the dark, the dark punctuates the light. Shadows can create all kinds of neat contrasts and dramatic effects, leaving your viewer pondering the mysteries contained in your shot.
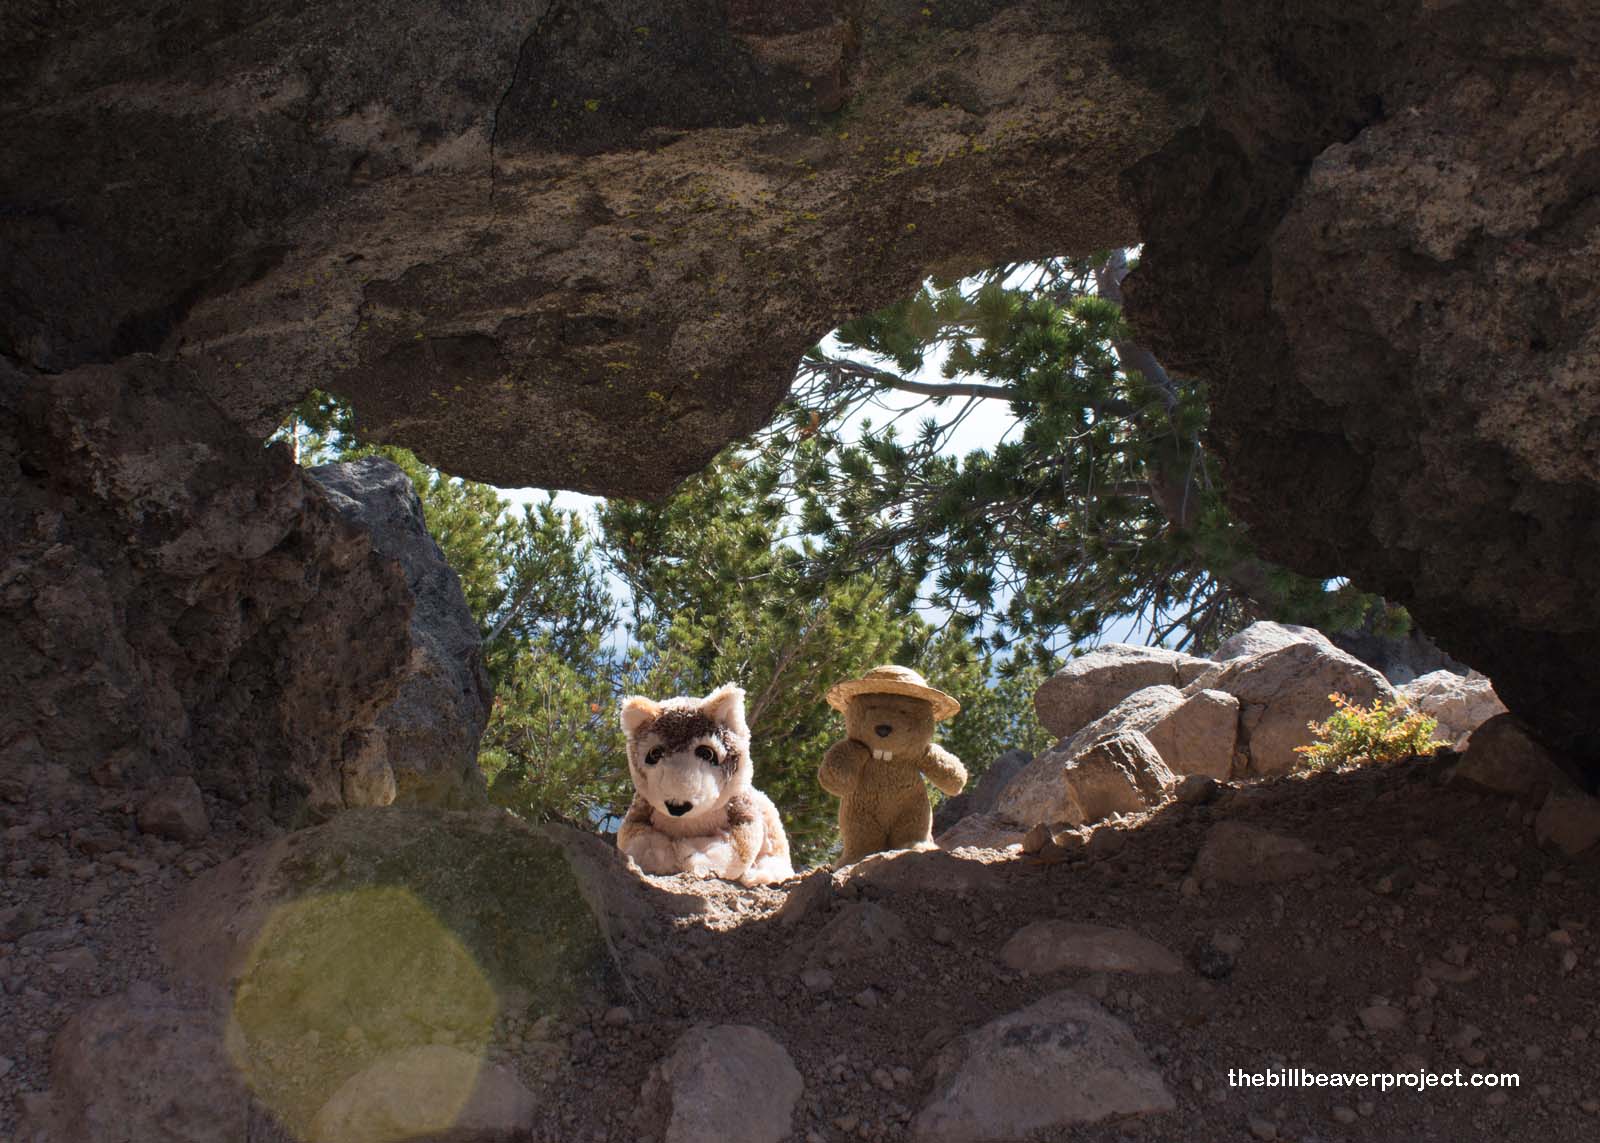
Of course, any time you’re shooting toward a light source, especially the sun, you’ll want to be wary of lens flares, those little globs of greenish light that steal the spotlight right out from over you. You can avoid lens flares by changing the angle of your camera, putting a hood over the lens, or by removing it in Photoshop or Lightroom afterward! You’ll still have to be conscious of your photo angle, though, because it’s really tough to edit out a flare when it’s covering something detailed!
 With Lens Flare! |
 Lens Flare Removed! |
Light is a wonderfully versatile medium for painting your photo, so have fun experimenting with different setups, angles, and brightnesses. You’ll never know when you’ll snap something that surprises you!
 |
 |
 |
 |