
Fast Shutter, Slow Shutter
Exposure, or shutter speed, is how fast a photo gets taken. That determines how much light is captured and how much motion. Photos taken at 1/4000 of a second can capture hummingbird wings, while photos taken for 30 seconds and above can illuminate a night sky. Normally, high shutter speeds are ideal for bright light and fast motion, while low shutter speeds are best for darkness and stillness.
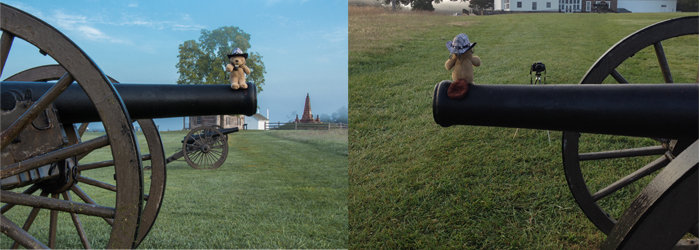
 Exposure 1/500 sec, F-stop 8.0 |
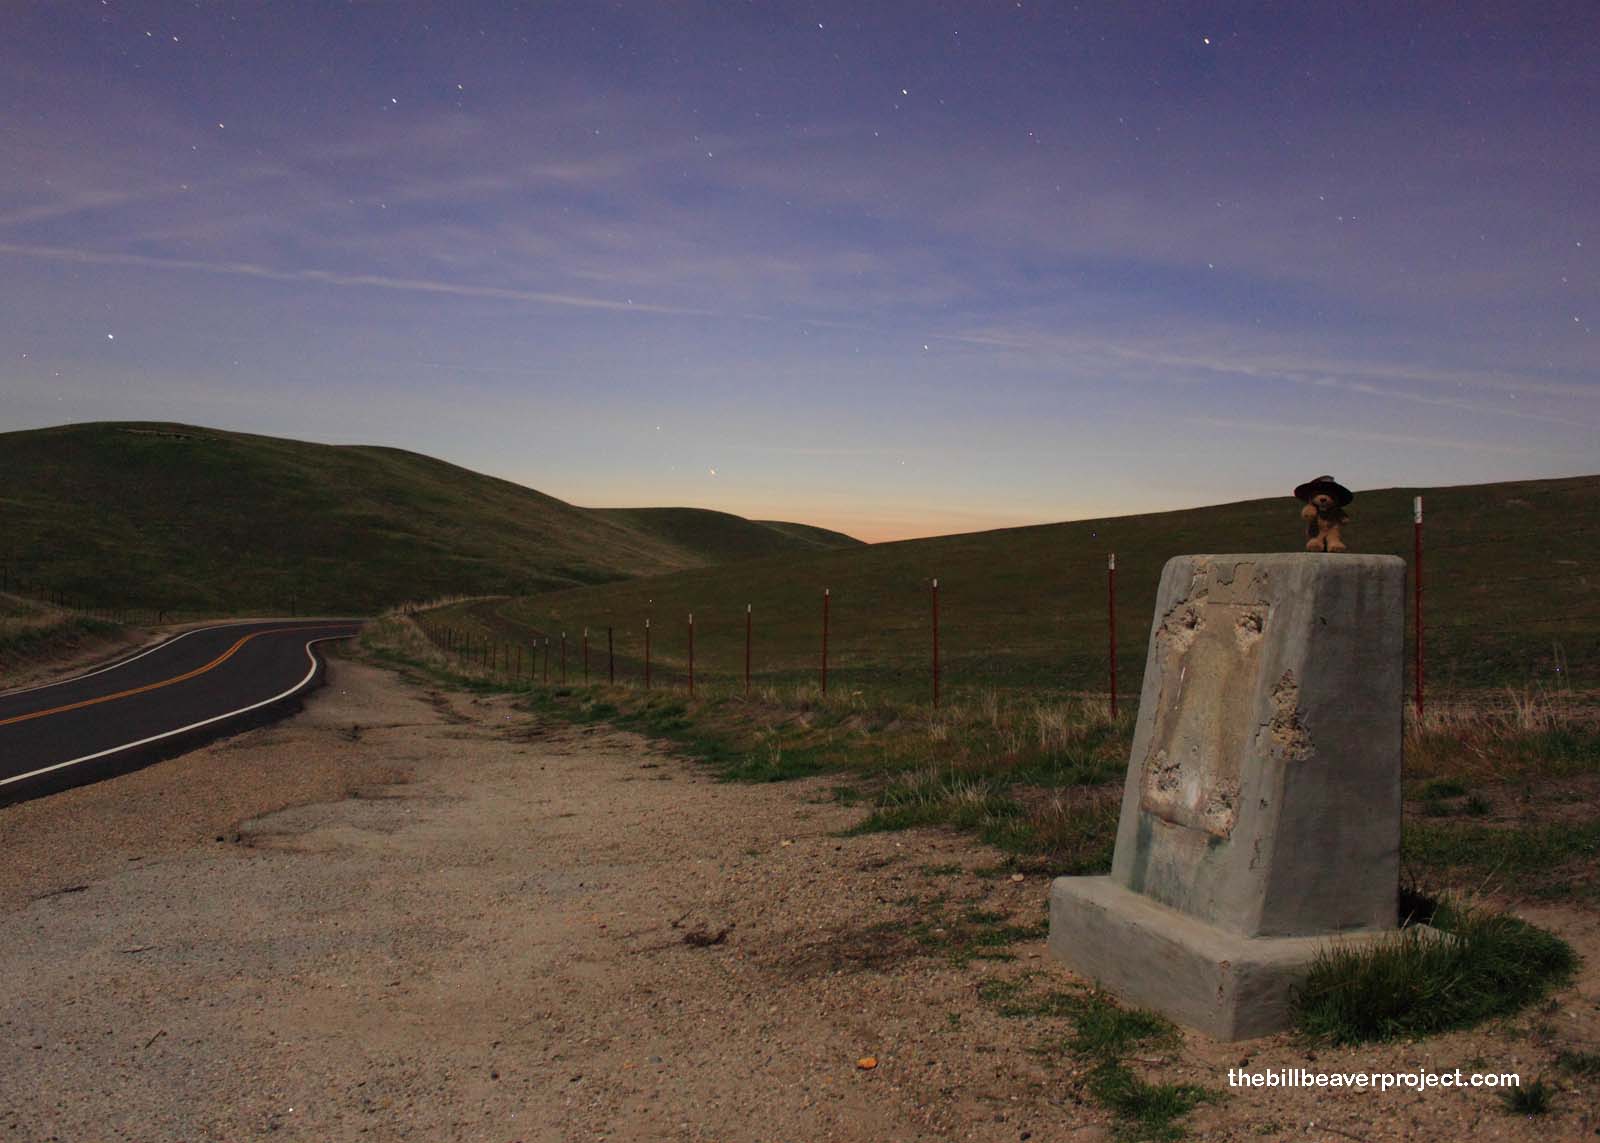 Exposure 30 sec, F-stop 3.5 |
For clear handheld photos, you’ll want to set your shutter speed between 1/50 and 1/80 of a second for short lenses, and 1/200 of a second for longer ones. This range can vary from person to person, though.

Exposure 1/10, F-stop 18, Shots 6
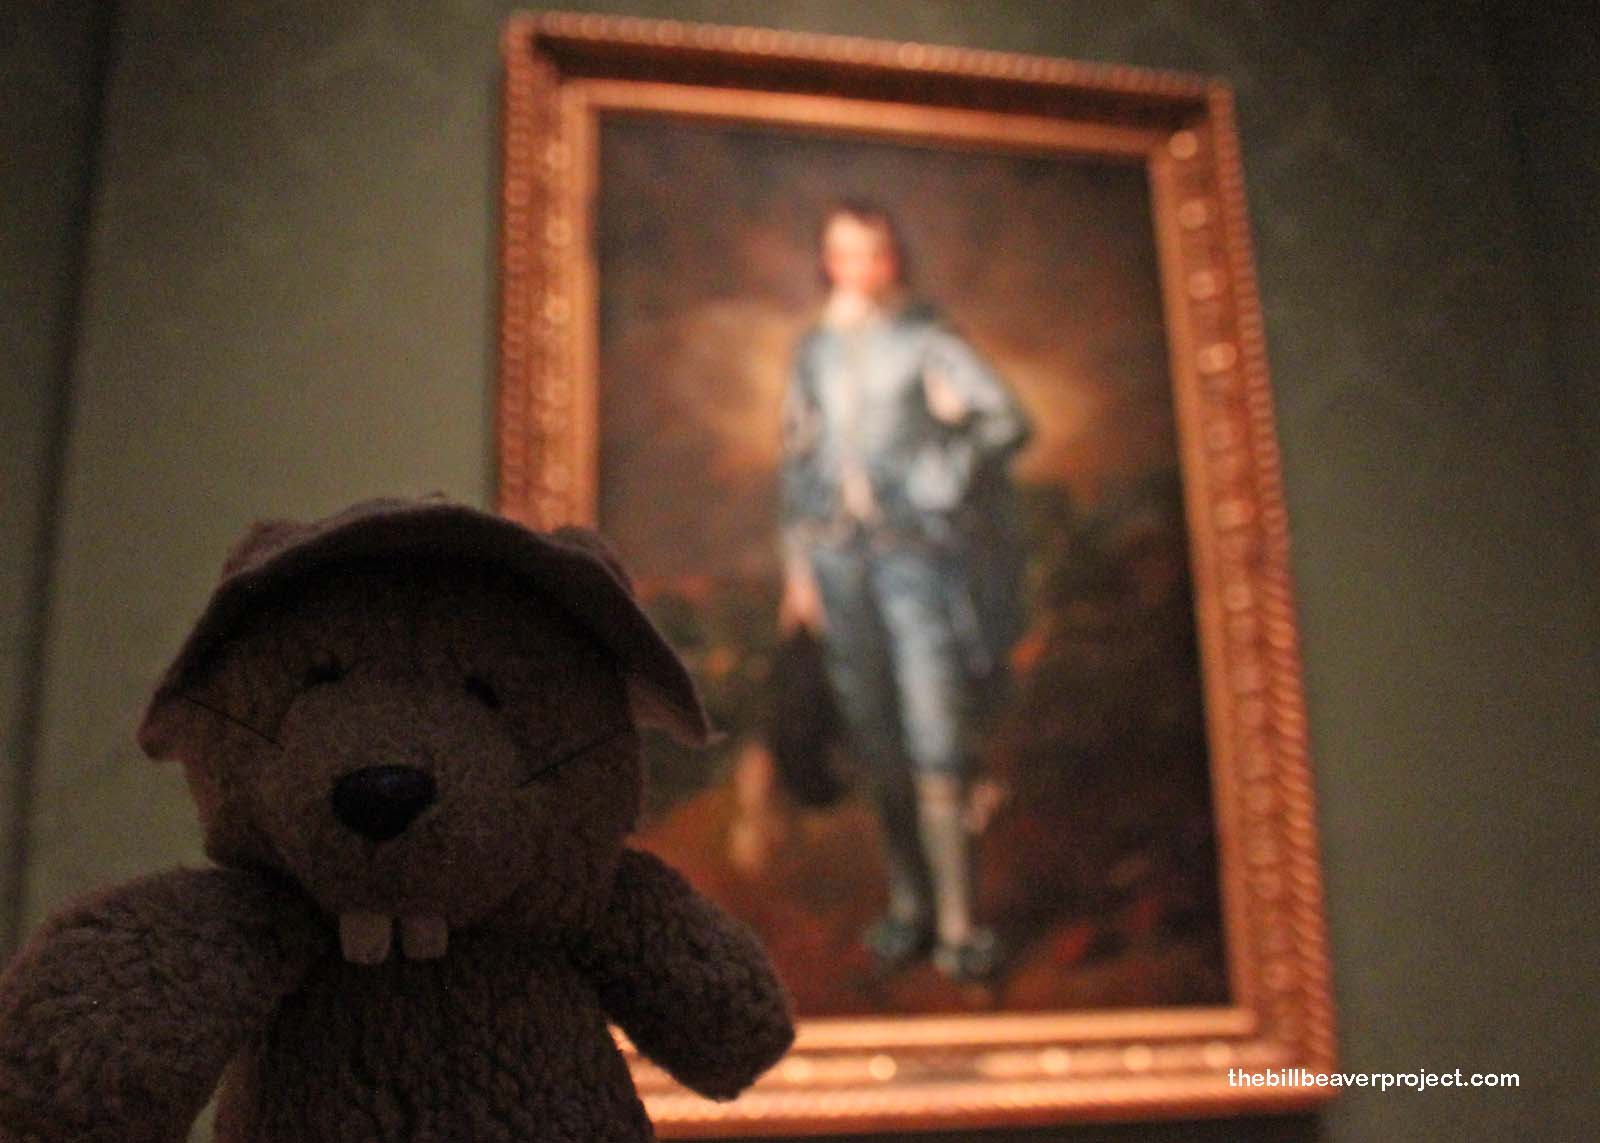
If I’m shooting handheld in low light, or if I ask someone else to take photos in low light, I set my camera to burst mode so it takes multiple shots very quickly when the button is held down. This is also how you activate burst mode on your smartphone! When you’re done, you can delete all but the most focused one. That’s especially useful when your aperture is high!

Exposure 1/13, F-stop 22, Shots 15
There are ways you can speed up your exposure in low light too. You can lower your aperture or raise your International Standards Organization (ISO) to capture more light. That will let you shoot faster shots, but beware! The lower your aperture, the less background you’ll capture. The higher your ISO, the grainier your photo may appear.
 Exposure 1/80 sec, F-stop 4.5, ISO 400 |
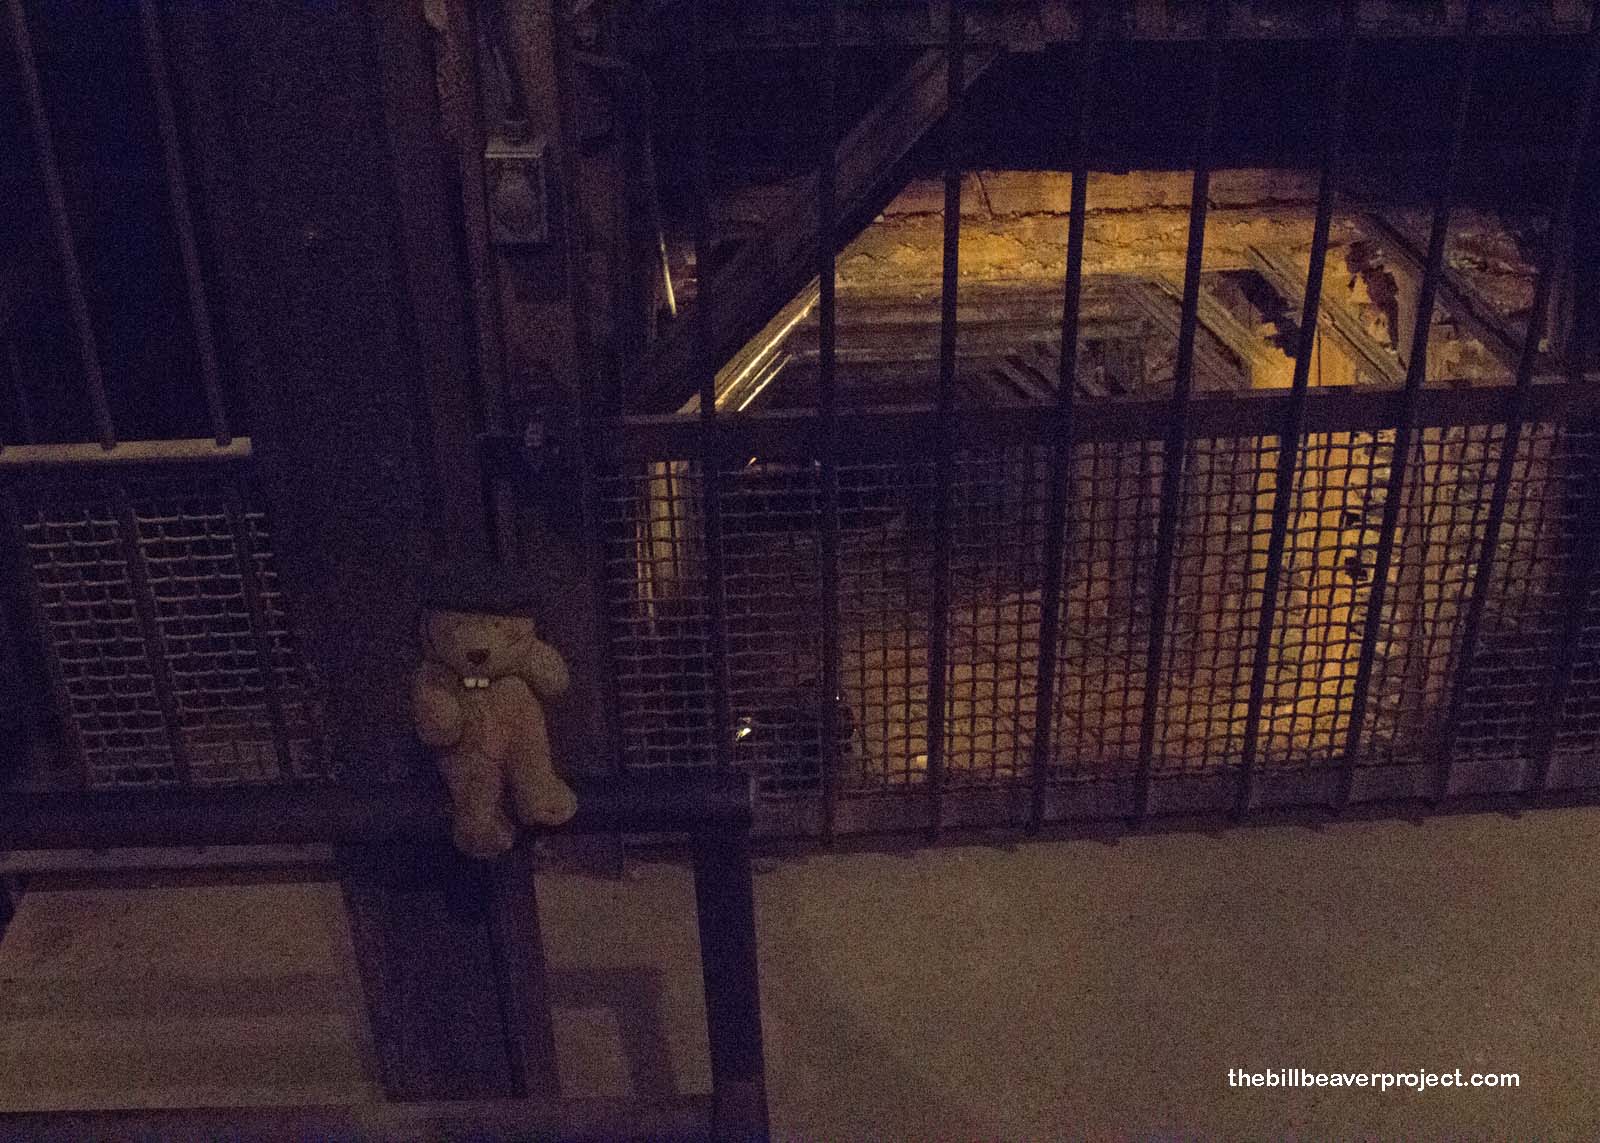 Exposure 1/20 sec, F-stop 13, ISO 1600 |
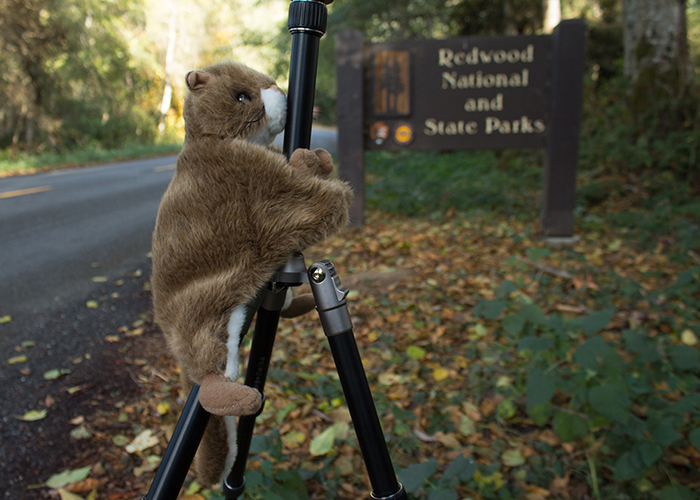
Invest in a Tripod
Without a doubt, having a small, portable tripod with you is the single greatest weapon against blur. With a tripod, you can shoot clear shots in shade, at night, and even in the depths of caves! Just set it up, set the timer, and run!
Just be aware that there are lots of places that don’t allow tripods, so you’ll have to get creative sometimes. You can set your camera on a rock, bench, or picnic table and level it out using rocks or sticks if necessary! The more stable your camera, the more fun you can have with lighting, clarity, and depth of field!
